Foiling with the Deco Foil Transfer Gel
Deco Foil Transfer Gel foiling general Hazelwood Collection Inspiration Nerd Academy Scrapbooking Tips & Tutorials


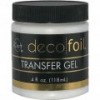
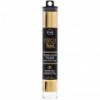
Hello everyone. It’s another Tuesday, and time for another tutorial. We have just received a large order from Therm-o-Web with new Deco Foil products. I’ve been anxiously waiting for this order to come so I could get my hands on the new Deco Foil Transfer Gel. This transfer gel allows you to create beautiful projects by adding foil using your stencils or screens. I decided to do a tutorial this week, on just how easy it is.

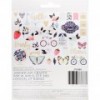
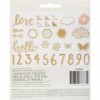
For this project I’ve used the One Canoe Two Hazelwood collection.
You will also need the following:
Deco Foil transfer gel
Deco foil (or similar type foils such as the Minc)
stencil
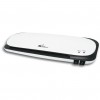
a laminator
How to:
I pre-planned where I was going to place my patterned paper and photos in order to determine where I wanted to place my stencil.
Once you decide where you are going to place your stencil, you will spread some of the transfer gel over top of the stencil, in the same way you would with texture paste, making sure to give a good, even coat.
Once you have added the gel, carefully lift off the stencil.
Allow some time (maybe 15 minutes or so) for the gel to dry before proceeding to the next step. You will know when the gel is dry as it will turn from white to clear.
Once the gel has dried, lay your foil over top and run through your laminator as per the instructions for your laminator (using either parchment paper or the laminator folders).
Peel off the foil and see the beautiful results!

Here’s a look at my completed layout. I love the look of the foil underneath the embellishment clusters and plan on doing this more often.
Thanks for visiting the blog today and for checking out the tutorial.
I hope you have a happy, crafty week!
← Older Post Newer Post →


