Getting More Out Of Your Embossing Folders with Karen @cardsbykaren
Have you ever tried using ink on an embossing folder? The results may surprise and delight you!
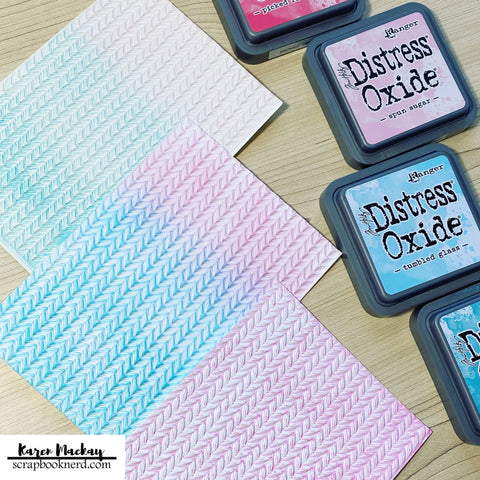
Here, Karen used Distress Oxide inks and the 3D- Knitted folder by Sizzix to create pieces for these cards.
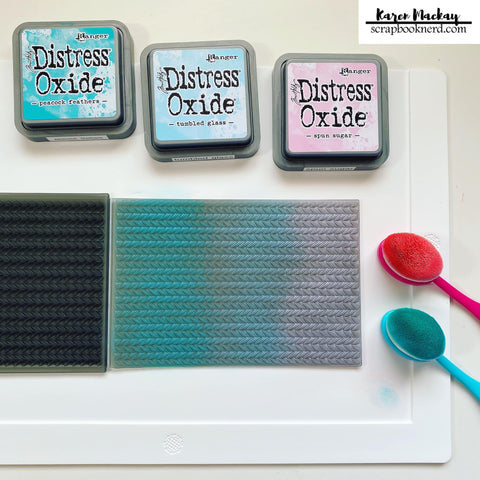
Step 1: Using a blending tool (such as the Blending Brushes from Taylored Expressions), transfer ink onto the inside of the embossing folder. You can experiment with either side of the folder, each side will be slightly different. Karen blended 3 colours of ink in a striped pattern.
Step 2: Place a piece of cardstock/paper in the folder, close the folder, and run it through an embossing/die cutting machine. Karen used a piece of watercolour paper and spritzed a little water on both the paper and the inked side of the folder before running it through a machine. This helps to keep the paper from cracking and also helps transfer the Distress Oxide inks.

Next...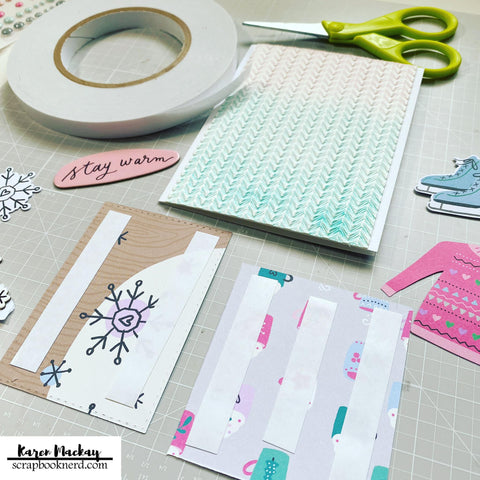
Step 3: Adhere the embossed piece to your project. Karen recommends using a strong double sided tape (such as ScrappyTac), especially if you used a 3D folder, this will secure the piece in place.
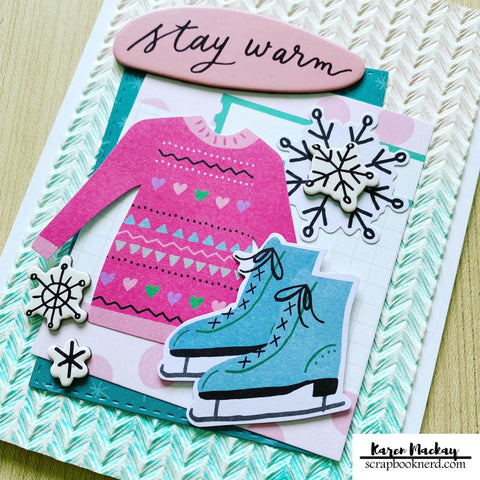
Step 4: Try using other inks, types of papers, ink placements, etc.
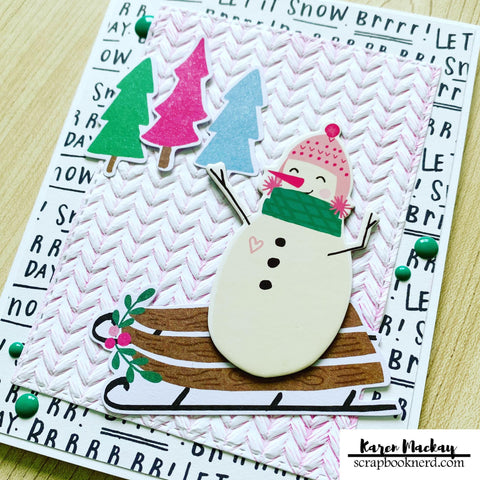
Here, Neenah Classic Crest 80bl cardstock was used with some pink ink.
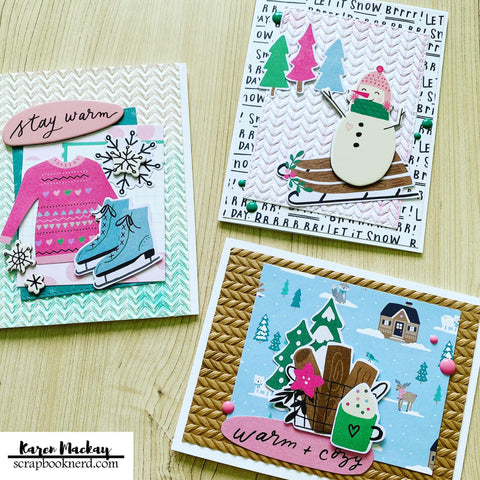
Of course you can just use embossing folders as is and still get a great look.
Sometimes it’s fun to play with our supplies and see what else we can do with them! Tell us: What have you played around with recently?
Full Supply List:
- Sizzix 3D Embossing folder- knitted
- Distress oxide inks- spun sugar, tumbled glass, peacock feathers, picked Raspberry
- Taylored expressions blender brushes
- Neenah Classic Crest 80bl cardstock in solar white
- Watercolour paper
- Simple stories “Feelin frosty” collection
- ScrappyTac adhesive tape in 1/2”
- Nuvo Aqua Shimmer Pen
← Older Post Newer Post →

2kg9i1
lzj4ka
vbfmmi
bm7wuy